# dns server name, default is host name # server-name, # example: server-name smartdns1 #
# Include another configuration options # conf-file [file] # conf-file blacklist-ip.conf
# dns server bind ip and port, default dns server port is 53, support binding multi ip and port # bind udp server # bind [IP]:[port] [-group [group]] [-no-rule-addr] [-no-rule-nameserver] [-no-rule-ipset] [-no-speed-check] [-no-cache] [-no-rule-soa] [-no-dualstack-selection] # bind tcp server # option: # -group: set domain request to use the appropriate server group. # -no-rule-addr: skip address rule. # -no-rule-nameserver: skip nameserver rule. # -no-rule-ipset: skip ipset rule. # -no-speed-check: do not check speed. # -no-cache: skip cache. # -no-rule-soa: Skip address SOA(#) rules. # -no-dualstack-selection: Disable dualstack ip selection. # -force-aaaa-soa: force AAAA query return SOA. # example: # IPV4: # bind :53 # bind :6053 -group office -no-speed-check # IPV6: # bind [::]:53 # bind-tcp [::]:53 bind [::]:53
# ttl for all resource record # rr-ttl: ttl for all record # rr-ttl-min: minimum ttl for resource record # rr-ttl-max: maximum ttl for resource record # tr-ttl-reply-max: maximum reply ttl for resource record # example: #设置TTL最小值和最大值 #rr-ttl 300 rr-ttl-min 60 rr-ttl-max 86400 # rr-ttl-reply-max 60
# set log level # log-level: [level], level=fatal, error, warn, notice, info, debug # log-file: file path of log file. # log-size: size of each log file, support k,m,g log-num: number of logs log-level info log-file /var/log/smartdns.log log-size 128k # dns audit # audit-enable [yesno]: enable or disable audit. # audit-enable yes # audit-SOA [yesno]: enable or disable log soa result. # audit-size size of each audit file, support k,m,g # audit-file /var/log/smartdns-audit.log # audit-size 128k # audit-num 2
# remote udp dns server list # server [IP]:[PORT] [-blacklist-ip] [-whitelist-ip] [-check-edns] [-group [group] ...] [-exclude-default-group] # default port is 53 # -blacklist-ip: filter result with blacklist ip # -whitelist-ip: filter result whth whitelist ip, result in whitelist-ip will be accepted. # -check-edns: result must exist edns RR, or discard result. # -group [group]: set server to group, use with nameserver /domain/group. # -exclude-default-group: exclude this server from default group. # server 8.8.8.8 -blacklist-ip -check-edns -group g1 -group g2
#飞书 server 114.114.114.114 -group feishu -exclude-default-group nameserver /.feishu.cn/feishu nameserver /.feishucdn.com/feishu nameserver /.feishu.com/feishu nameserver /.bytehwm.com/feishu nameserver /.ibytedapm.com/feishu nameserver /.zijieapi.com/feishu nameserver /.feelgood.cn/feishu # 百度 server 114.114.114.114 -group baidu -exclude-default-group nameserver /.baidu.com/baidu #京东 server 114.114.114.114 -group jd -exclude-default-group nameserver /.jd.com/jd #淘宝天猫 server 114.114.114.114 -group taobao -exclude-default-group nameserver /.taobao.com/taobao nameserver /.tmall.com/taobao #阿里 server 114.114.114.114 -group ali -exclude-default-group nameserver /.aliyun.com/ali #csdn server 114.114.114.114 -group csdn -exclude-default-group nameserver /.csdn.net/csdn #华为 server 114.114.114.114 -group huawei -exclude-default-group nameserver /.huaweicloud.com/huawei #todesk server 114.114.114.114 -group todesk -exclude-default-group nameserver /.todesk.com/todesk #QQ server 114.114.114.114 -group qq -exclude-default-group nameserver /.qq.com/qq
# remote tcp dns server list # server-tcp [IP]:[PORT] [-blacklist-ip] [-whitelist-ip] [-group [group] ...] [-exclude-default-group] # default port is 53 # server-tcp 8.8.8.8 server 8.8.8.8 server 8.8.4.4 ##server 120.53.129.197 ##server 124.70.4.50
# remote tls dns server list # server-tls [IP]:[PORT] [-blacklist-ip] [-whitelist-ip] [-spki-pin [sha256-pin]] [-group [group] ...] [-exclude-default-group] # -spki-pin: TLS spki pin to verify. # -tls-host-verify: cert hostname to verify. # -host-name: TLS sni hostname. # -no-check-certificate: no check certificate. # Get SPKI with this command: # default port is 853 server-tls 8.8.8.8 server-tls 1.0.0.1
# remote https dns server list # server-https https://[host]:[port]/path [-blacklist-ip] [-whitelist-ip] [-spki-pin [sha256-pin]] [-group [group] ...] [-exclude-default-group] # -spki-pin: TLS spki pin to verify. # -tls-host-verify: cert hostname to verify. # -host-name: TLS sni hostname. # -http-host: http host. # -no-check-certificate: no check certificate. # default port is 443 server-https https://cloudflare-dns.com/dns-query
# specific nameserver to domain # nameserver /domain/[group-] # nameserver /www.example.com/office, Set the domain name to use the appropriate server group. # nameserver /www.example.com/-, ignore this domain
# specific address to domain # address /domain/[ip--4-6##4#6] # address /www.example.com/1.2.3.4, return ip 1.2.3.4 to client # address /www.example.com/-, ignore address, query from upstream, suffix 4, for ipv4, 6 for ipv6, none for all # address /www.example.com/#, return SOA to client, suffix 4, for ipv4, 6 for ipv6, none for all
# enable ipset timeout by ttl feature # ipset-timeout [yes]
# specific ipset to domain # ipset /domain/[ipset-] # ipset /www.example.com/block, set ipset with ipset name of block # ipset /www.example.com/-, ignore this domain
# set domain rules # domain-rules /domain/ [-speed-check-mode [...]] # rules: # [-c] -speed-check-mode [mode]: speed check mode # speed-check-mode [pingtcp:portnone,] # [-a] -address [address-]: same as address option # [-n] -nameserver [group-]: same as nameserver option # [-p] -ipset [ipset-]: same as ipset option # [-d] -dualstack-ip-selection [yesno]: same as dualstack-ip-selection option
#!/bin/sh ip link set $INTERFACE up ip addr add 10.100.1.1/32 dev $INTERFACE ip route add 10.100.1.0/24 dev $INTERFACE iptables -A FORWARD -o "${INTERFACE}" -m conntrack --ctstate RELATED,ESTABLISHED -j ACCEPT iptables -A FORWARD -i "${INTERFACE}" -j ACCEPT iptables -t nat -A POSTROUTING -s "10.100.1.0"/"255.255.255.0" ! -o "${INTERFACE}" -j MASQUERADE
3、配置/etc/tinc/openwrt/tinc-down:
1 2 3 4 5 6 7
#!/bin/sh ip route del 10.100.1.0/24 dev $INTERFACE ip addr del 10.100.1.1/32 dev $INTERFACE iptables -D FORWARD -o "${INTERFACE}" -m conntrack --ctstate RELATED,ESTABLISHED -j ACCEPT iptables -D FORWARD -i "${INTERFACE}" -j ACCEPT iptables -t nat -D POSTROUTING -s "10.100.1.0"/"255.255.255.0" ! -o "${INTERFACE}" -j MASQUERADE ip link set $INTERFACE down
4、配置节点信息/etc/tinc/openwrt/hosts/openwrt:
1 2 3 4 5
# 分配给OPENWRT的虚拟LANIP Subnet=10.100.1.1/32 # 路由器所在的网段 Subnet=10.0.0.0/24 Port = 10010
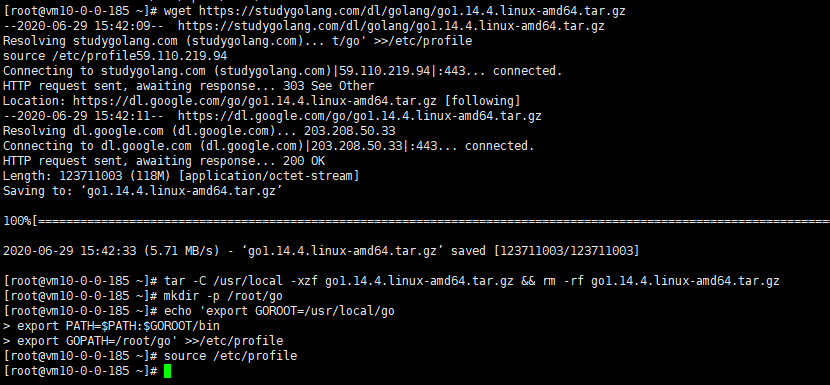
go env -w GO111MODULE=on go env -w GOPROXY=https://goproxy.cn,direct
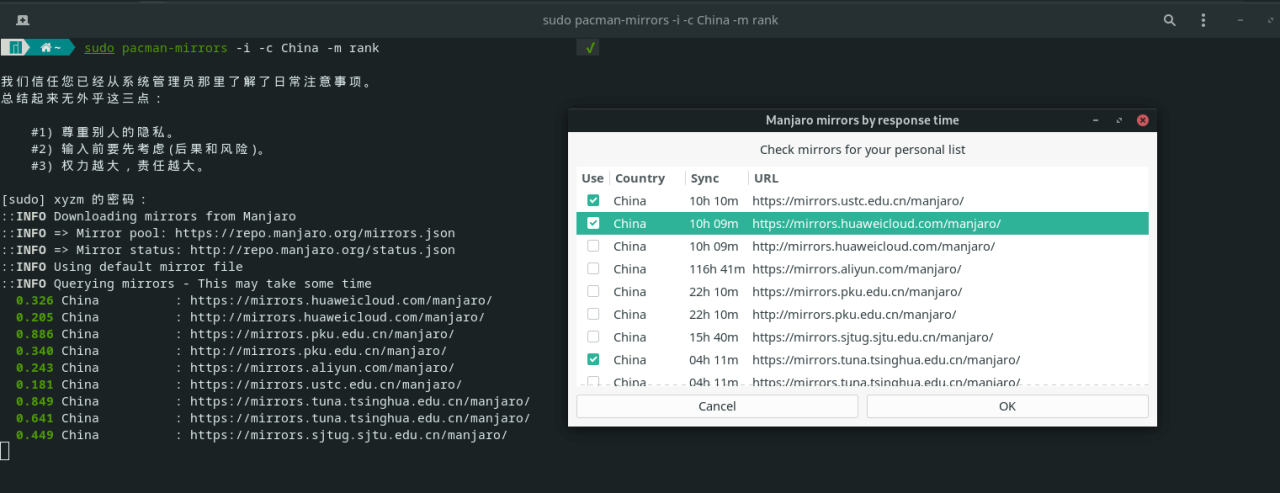
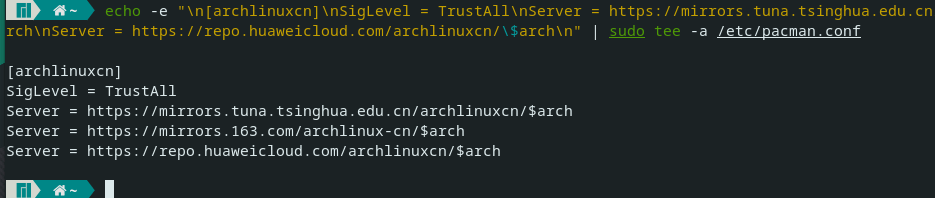
配置国内镜像源
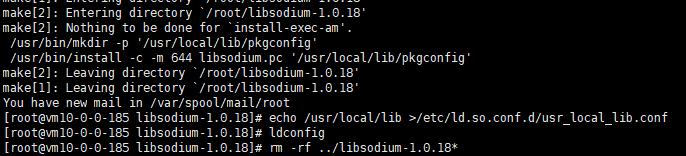
3、安装libsodium
1
2
3
4
5
6
7
cd /root wget -N --no-check-certificate https://cdn.nextrt.com/dns/soft/libsodium-1.0.18.tar.gz tar xf libsodium-1.0.18.tar.gz && cd libsodium-1.0.18 ./configure && make -j2 && make install echo /usr/local/lib >/etc/ld.so.conf.d/usr_local_lib.conf ldconfig rm -rf ../libsodium-1.0.18*
安装libsodium
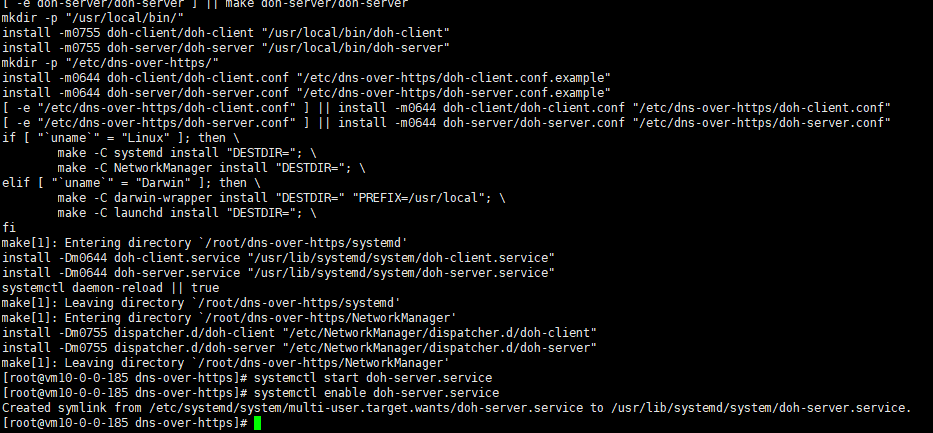
4、安装DOH Server
1 2 3 4 5 6
cd /root git clone https://github.com/m13253/dns-over-https.git cd dns-over-https make && make install systemctl start doh-server.service systemctl enable doh-server.service
安装DOH Server
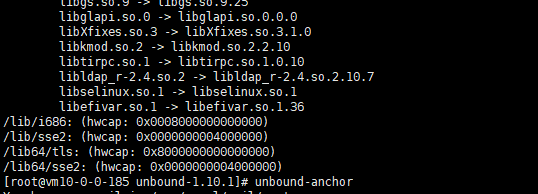
5、安装Unbound
1 2 3 4 5 6 7
wget https://nlnetlabs.nl/downloads/unbound/unbound-1.15.0.tar.gz --no-check-certificate
tar -zxvf unbound-1.15.0.tar.gz && rm -rf unbound-1.15.0.tar.gz && cd unbound-1.15.0 && ./configure --enable-subnet --with-libevent --with-pthreads --with-ssl --enable-dnscrypt
make && sudo make install
curl -o /usr/local/etc/unbound/root.hints ftp://ftp.internic.net/domain/named.cache
/sbin/ldconfig -v
unbound-anchor
mkdir /etc/unbound
 Root下安装: